Keycloak IDM integration with LDAP/AD for user Authentication
This guide is to learn how to connect the keycloak IDMwith a Active Directory or LDAP server.
Prerequisite:
- You must have Keycloak installed on your server or local. You can also user Docker to run the keycloak.
Here are steps to run the keycloaker as docker container.
Once you have keycloak up and running, open below URL to open the admin console using http://localhost:8080/auth/admin
2. You must have the connection information of your LDAP server ( hostname, port, Bind DN or user and your Bind password )
Steps to connect with LDAP Server:
- Once you enter the admin console you will be able to see the “User Federation” in the left menu like below
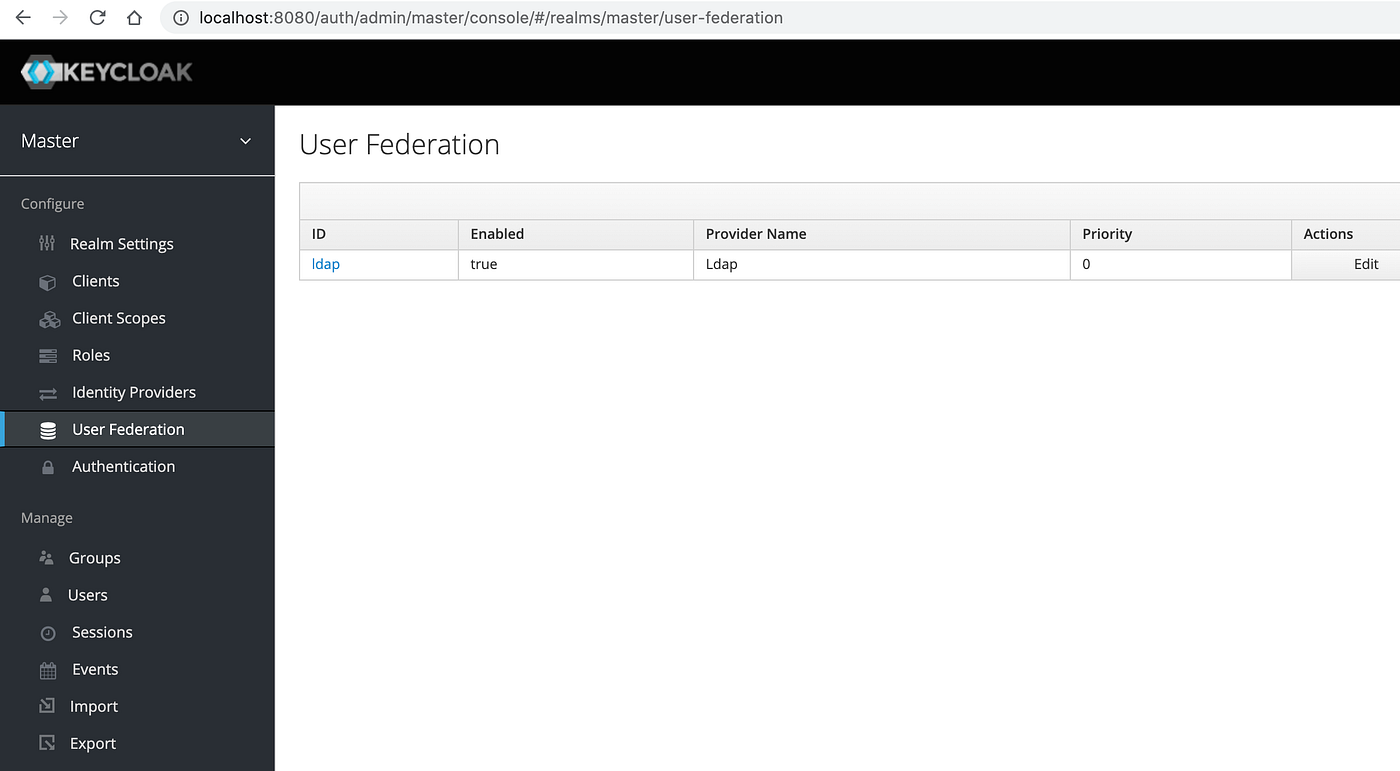
If you want you can add a new realm or use master realm, in my case I added a used the master realm. To add a new realm just click on the down arrow button besides the text “Master” on top left like below:

2. Click on User Federation and add new Provider and choose “ldap” while adding it.

3. Once you choose ldap it will show you some text feilds for connection with your ldap, sync settings and some advanced settings. Make “Import Users” checkbox ON and enter the following attributes
a) Choose “Vendor” from drop down list. Select the LDAP vendor that you want to configure. In my case I selected “Other” (as shown in below screenshot). The “help” icon in keycloak next to each field also provides a good description of what is required and example values for ldap or active directory.
b) Username LDAP attribute: uid
c) RDN LDAP attribute: uid
d) UUID LDAP attribute: Most of the blogs mentioned “UUID LDAP attribute” value set as “entryUUID” or just use another unique identifier. In this demo I did’t used “uid”.
e) User Object Classes: You can use Ldap Browser tool to see what all values your LDAP server supports like inetOrgPerson, organizationalPerson, person, top etc to be able to find the user correctly.
f) Connection URL: It is the base URL of your ldap server. Make sure this host is reachable to the keycloak.
g) Users DN: Here you need to provide the DN of the LDAP tree where users are present. To see this value you can login to your LDAP server and see this value like below

h) Search Scope: It can be One Level or Subtree. If the users in your LDAP server are pesent in subtree you can choose this option else choose One Level
i) Bind DN: It is the DN of LDAP admin which keycloak will used to fetch the user profiles.
j) Bind Password: It is the password of LDAP admin which keycloak will pass to LDAP for admin authentication to fetch the user profiles from LDAP.


Click on “Test Connection” and “Test Authentication” buttons to see whether connection is success and the Bind DN information you have added is correct and keycloak is able to reach to the LDAP server.
Also you can set the Sync settings and frequency as shown in above screenshot as per your need. At the end of the screen you will find few buttons to Sync the users or unlink or delete the imorted users.
Once you connection is success you can try to sync the users manually by clicking the Synchronize buttons at bottom to see whether the users are sucessfully imported to the keycloak.
Attribute Mappers:
To map the specific attributes with your LDAP server you can sepcify the atttributes from Mapper Tab on the same screen. There are chances when you have different attribute names in your keycloak and LDAP server.

you can click on each attribute to modify the same or you can add new attribute which want to be mapped with your LDAP server.
Different types of attribute mappers are present in keycloak like role mapper, user attribute mapper, group mapper, full name mapper etc. You can find the definition of each mapper in the below keycloak documentation https://www.keycloak.org/docs/6.0/server_admin/#_ldap_mappers
Users which are synchronized from LDAP will appear in the Users tab on the left of the screen. While doing the Synchronization of the users, you can specify the attributes you want to Synchronize. In my case I have synchronize the attributes which are mentioned in the above attrbiute mapper screenshot.


Authentication
Once the user synchronization done, you can test the keycloak API’s for authetication whether its working or not.
Here is the CURL for that
curl - location - request POST
'http://localhost:8080/auth/realms/master/protocol/openid-connect/token'
- header 'Content-Type: application/x-www-form-urlencoded'
- data-urlencode 'client_id=clientId'
- data-urlencode 'grant_type=password' \
- data-urlencode 'client_secret=2eb24883–2e80–41cd-9f91-b1bca2f4376f' \
- data-urlencode 'username=username' \
- data-urlencode 'password=password'
Response
{
"access_token": "<JWT Token>",
"expires_in": 60,
"refresh_expires_in": 1800,
"refresh_token": "<refresh token>",
"token_type": "Bearer",
"not-before-policy": 0,
"session_state": "3c7b0f83-abe1–4819-bbde-3e49e6dca56f",
"scope": "profile email"
}
Once you hit this CURL you will get the accessToken if the data present in the CURL is correct. Here keycloak is authenticating users from LDAP only because while sync it just fetch the user profile including first name, last name, username, email etc (not the user password)
You need to pass the client_id and client_secret which you can get from clients tab. In my case I have created new client and used the credentials of the same like below:


This way you can connect the keycloak to the LDAP server. You can use the accessToken returned by the keycloak to further call the keycloak API’s mentioned here.
https://www.keycloak.org/docs-api/5.0/rest-api/index.html
Refrences: